How to Embed Social Media in Your Website [2026 Updated Guide]
Dayana Mayfield
on
Feb 23, 2026
Social Media
If you’ve been using social media to create killer content and connect with your audience, then you already know how beneficial it is. And if you’re like most businesses, you don’t want your most impactful presence to be only on social media.
But how can you share more content outside of social? Through your website, of course!
By using embedded social media content, you can expand the reach of your content and impress your audience, particularly when embedding UGC. And in this article, we’ll discuss what it is, why you should care, and a detailed step-by-step process on how to do it.
Curator.io is an easy-to-customize aggregator that lets you pull from over a dozen sources. If you’d like to give Curator.io’s free forever plan a spin sign up today.
What is embedded social media content?
Embedded social media content is content that’s added to your website from one or more social media networks. One way you can do this is by utilizing a social media aggregator. If it’s right for you, a tool like this will help you find and pull the content that best suits your needs directly to your website.
Embedding one post versus an entire feed
When you embed a single post, you can get the HTML code directly from the platform. Just click on the Instagram, X, or other post you want to embed, copy the code, and paste it on your website or blog post page.
If you want to embed an entire feed and choose which posts to add to your site, you’ll need to use a social media aggregator. This is a simple tool that lets you connect your social media feed, moderate content, and stylize the feed so you can embed it in your website.
Why you should embed social media posts in your website
Well, for one, it’s easy and free! But besides that, it offers tremendous benefits that we’ll discuss below.
Increased engagement
There’s a difference between a company and a customer showcasing a product. In fact, a study conducted by Offerpop found that 85% of consumers found customer product reviews more influential than branded content. So, by curating realistic product content, your visitors are more likely to trust your content and eventually interact with you on social or your site.
Encourage more user-generated content
When a brand embeds user-generated content (UGC) on their site, it shows their audience that they notice them and their social content. Consumers have always gone out of their way for brands that care about them. So, in hopes that their content would also be included, more of your audience would share their content with you using hashtags or mentions.
Plus, a study conducted by Digital Information World found that websites with UGC content can lead to 20% more return visitors than a site without it. So, not only does pulling content from social help you inspire more people to share their content with you but when they do, you also increase your website traffic.
Give your website more personality
Most websites are text-based, which makes it difficult to stimulate and engage your audience. But by embedding content in your site, you can visually appeal to your audience’s senses via customizable images and colors. And with more visuals, you break up the format of your website with interesting, personality-filled content.
How to embed social media content in your site
Now that we’ve covered what it is and why you need it, let’s discuss step-by-step how to embed your content in your site.
Step 1: Name your feed
Your first step in embedding your social media content in your site is to create and name your feed. While you have complete creative freedom when naming your feed, you’d want to make sure that it’s easy to understand.
Also, your feed’s name should accurately represent your goal for it. If you plan on using user-generated content from Instagram, then consider naming it “UGC Instagram Feed.” It’s simple and straightforward.
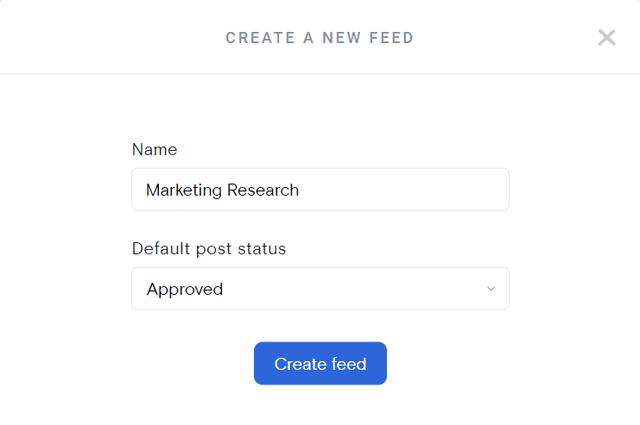
In this step, you’ll also need to decide how you want your content approved. Here are the options you can choose from:
Approved: All content that you source will be automatically added to your website from your social feed. If there are any posts that you don’t want on your site, you can manually remove them by logging into Curator.
Needs approval: All content you want on your website will have to be manually added by you.
The approval settings you decide on is based on your brand and the content you want on your site.
For example, let’s say you’re curating user-generated content. To ensure that it represents your brand in a positive light, you’d want to go through and handpick the best ones. Or, if you’re adding content from a reputable source that you trust, then you might feel more comfortable allowing it to be automatically added.
Curator.io is an easy-to-customize aggregator that lets you pull from over a dozen sources. If you’d like to give Curator.io’s free forever plan a spin sign up today.
Step 2: Choose a network
Your next step is to choose a network to pull content from. As we’ve mentioned before, each feed should have its own purpose, so make sure to pick a network that helps you reach it. Below, you can see we have over a dozen networks to choose from:
After you’ve picked a network, you’ll need to decide on a source. Source types are unique to each one. For example, Twitter has five source types, Instagram has four, and each one is slightly different than the next.
Once you’ve decided on the network and source type, you’ll need to fill in any necessary information to access posts for your social media feeds.
Keep in mind that for embedding blogs, you can use your RSS feed.
Step 3: Curate your content
This step is based on your approval setting. If you choose to approve your posts automatically, then right here is where you’ll remove any that you don’t want to show. Or if you want to approve content manually, then take this time to go through each post and approve the ones you want.
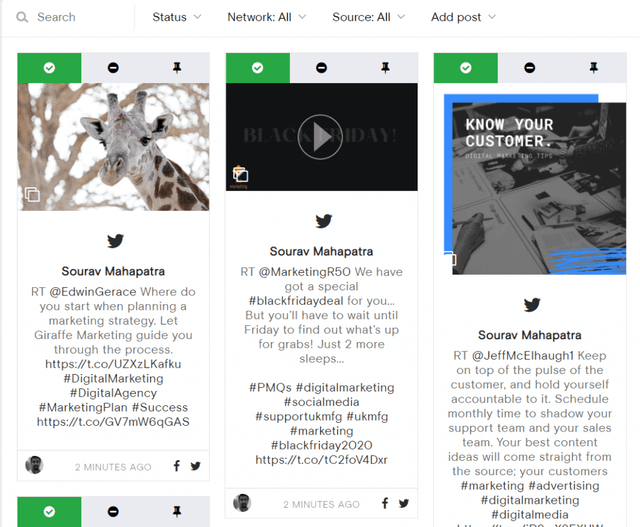
To help you save time when curating posts, you can also set rules. One rule that we automatically set when you create new posts is to reject content with profanity. But if that’s in line with your brand, then you can totally remove it or alter it only to allow approval on some words.
Or, if you only want content that contains images, you can set a rule for that too.
You can also add exclusive custom photos that you didn’t organically have on your Twitter, Facebook, or Instagram feeds.
Step 4: Customize your embed social feed
Now that you’ve picked out the best content to represent your brand, you can customize your feed!
There are tons of options you can choose from to make your embed social feed your own. Check out the default layout, Waterfall, below:
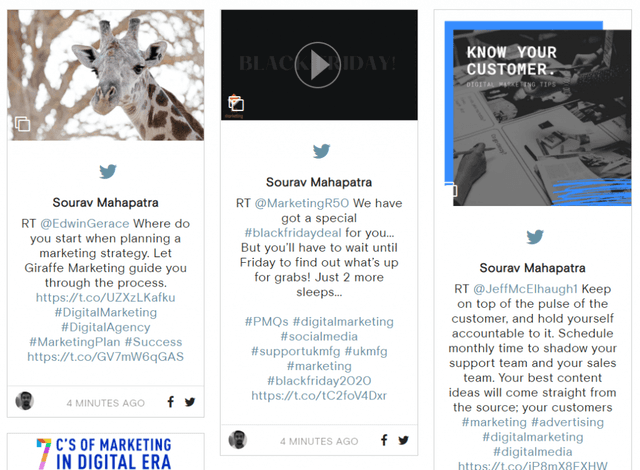
In addition to Waterfall, there’s also:
Carousel – Automatically rotates one row of your posts.
Panel – Showcases one post at a time for a set amount of time before changing.
Grid – Shows multiple posts at once with hidden captions. You can access additional information about a post by hovering over it.
Grid carousel – Automatically rotates multiple posts with hidden captions. Your audience can access more information by clicking on a post.
List – Displays your posts in a vertical line that flows down the page.
Each layout has its own style feature that lets you further customize how your posts look. If you choose the Waterfall layout, there’s Sydney, Berlin, and London style choices. And that’s just one option!
Additionally, you can customize what happens when you interact with a post, dimensional size, what information you want to be shown, and more.
Don’t want your embed social feed to stick out like a sore thumb on your site?
No problem! You can keep it consistent with your website and your brand by changing the icon, text, link, bolder, and background color.
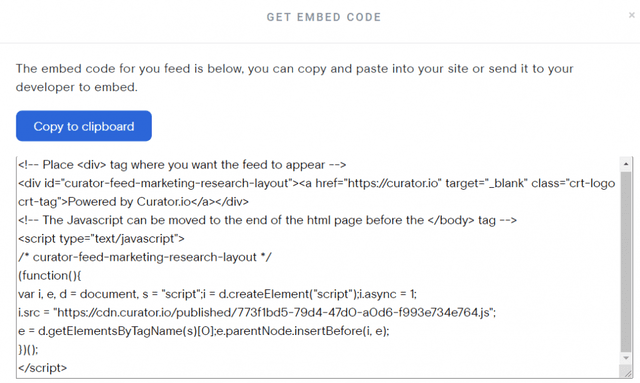
Step 5: Add the HTML code to your site
And for the final step, you just need to hit “Publish feed” and copy the embed code. Then your developer can embed your source code into your site wherever you want it to go. Try it out on your home, news, or events page and see what works best for you!
Top 7 tools to embed social media in your website
Check out the best social media embed platforms and choose your favorite.
1. Curator
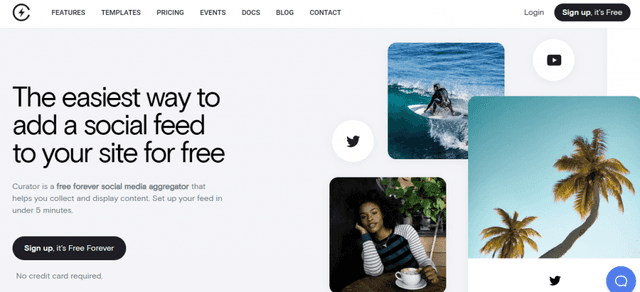
Curator is an easy-to-use social media aggregator that helps you showcase your favorite social content on your website. You can easily pull content from over a dozen platforms and customize how it looks on your site. Best of all, it’s super flexible with options for manual moderation, content approval, and embedding with just a few clicks.
Special features:
Manual and automated moderation
Pin posts
Edit posts
Add links to product pages
Generous free plan
20+ templates
Social media networks you can embed with Curator:
X
Instagram
Facebook
YouTube
TikTok
LinkedIn
Tumblr
Slack
Vimeo
Reddit
Behance
Yelp
Flickr
DeviantArt
RSS
Pricing:
Curator offers a free forever plan that covers up to 3 sources and offers 2,000 monthly site views. Their core plans range from $25 to $59 and cover additional sources and views.
2. Taggbox
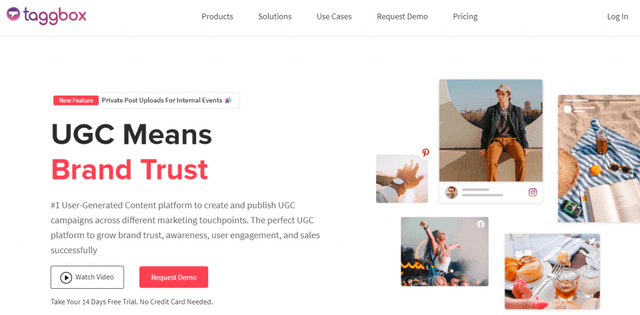
Taggbox is a social media aggregator that helps you showcase user-generated content (UGC) and customer reviews directly on your website. With AI-powered curation, Taggbox enhances your site’s credibility and boosts engagement by collecting and displaying content from 15+ platforms, including Instagram, X, and Google.
Special features:
AI-powered curation for smart content moderation
UGC Rights management for displaying user content confidently
16+ customizable layouts, including carousels and grids
Social media networks you can embed with Taggbox:
Instagram
LinkedIn
Facebook
Twitter
YouTube
TikTok
RSS
Pinterest
Pricing:
Taggbox offers plans starting at $79/month for 3 feeds and 1,000 monthly tweets, with unlimited embeds and AI-powered recommendations. For larger campaigns, the Professional plan is $239/month, supporting 10 feeds and real-time updates. Custom Enterprise solutions are also available for agencies
3. SociableKIT
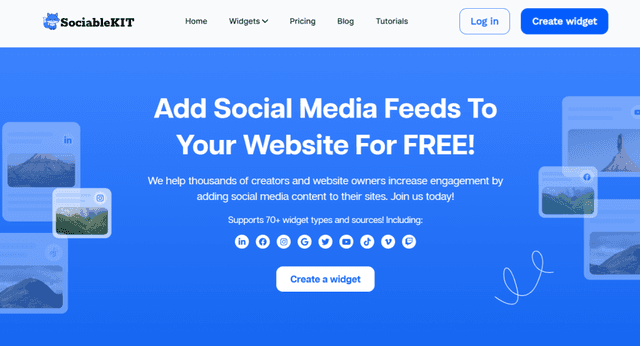
SociableKIT helps creators and website owners enhance engagement by embedding social media feeds into their sites. With over 70 widget types, including support for Facebook, Instagram, TikTok, and LinkedIn, it’s a versatile solution for adding dynamic content. The platform offers easy setup, customization, and a simple embed process to improve online visibility and user interaction. SociableKIT is trusted by thousands of companies for its reliability and excellent customer support.
Special features:
Supports 70+ widget types
Automatic updates and sync
Custom CSS and API access
Manual and automatic moderation
Social media networks you can embed with SociableKIT:
LinkedIn
Facebook
Google
TikTok
X
Instagram
Vimeo
Pricing:
SociableKIT offers a Free plan with 5 sources and 3,000 monthly page views. Their paid plans start at $10/month for small businesses, while the Elite plan is $20/month, providing unlimited page views and enhanced features like 24/7 support.
4. Tagembed
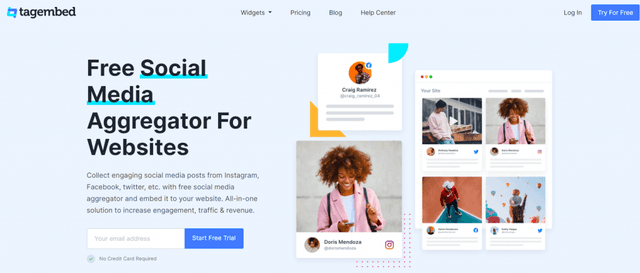
Tagembed is a powerful social media aggregator that helps you collect, curate, and display engaging social media feeds and reviews on your website. It supports over 20 platforms, allowing you to easily showcase content from Instagram, Facebook, Twitter, and more. With customization options, moderation tools, and seamless integration, Tagembed is designed to boost engagement, traffic, and social reach.
Special features:
Collect reviews and social content from 20+ platforms
Customizable themes, layouts, and moderation options
Automatic content updates and responsive design
Social media networks you can embed with Tagembed:
Instagram
LinkedIn
X
Facebook
TikTok
YouTube
RSS
Slack
Pinterest
Vimeo
Flickr
Pricing:
Tagembed offers a Free plan with 1 feed and 500 views/month. Paid plans start at $19/month for 2 feeds and 5,000 views, while the Pro plan at $29/month supports 4 feeds and 50,000 views. For larger needs, the Plus plan at $59/month includes 10 feeds and 1 million views.
5. Walls
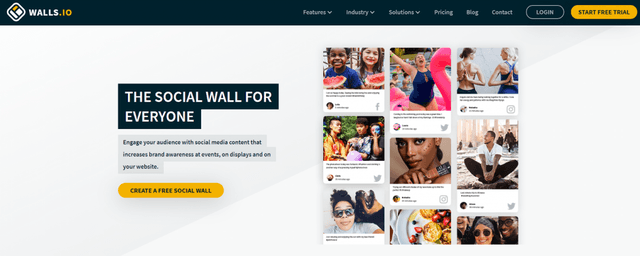
Easily create a social wall with Walls.io This tool helps bring events to life by showcasing real-time content from 15+ social media platforms. It works smoothly with your favorite event apps, making it simple to display content on screens, websites, and more. With cool features like live polls, reactions, and content moderation, Walls.io keeps audiences engaged and makes your event stand out.
Special features:
Supports 15+ social platforms and real-time content updates
Easy event app integrations and unlimited embeds
Live polls, reactions, and photo uploads via QR code
Social media networks you can embed with Walls:
Facebook
Instagram
LinkedIn
X
Pinterest
YouTube
Vimeo
TSS
Reddit
Tumblr
Flickr
TikTok
Pricing:
Walls.io offers a 14-day free trial with no credit card required. Paid plans start at $50/month, providing unlimited social walls, embeds, and posts, with additional custom solutions available for agencies and enterprises.
6. SmashBalloon
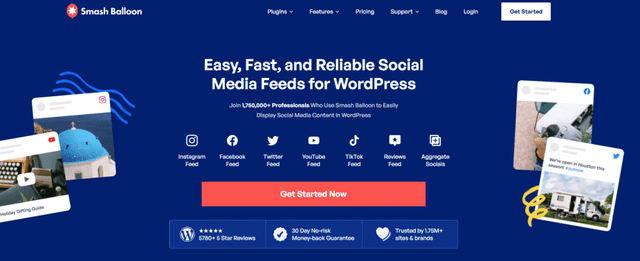
Smash Balloon makes it easy to display social media feeds on WordPress websites with no coding required. Trusted by over 1.75 million users, it supports platforms like Instagram, Facebook, Twitter, YouTube, and TikTok, helping you boost engagement and showcase your content seamlessly. With fast setup, customization options, and SEO-friendly integration, Smash Balloon ensures your social feeds look great and load quickly.
Special features:
Customizable social feeds with no coding needed
Supports multiple platforms and SEO-friendly embeds
Fast load times and reliable website backup system
Social media networks you can embed with SmashBalloon:
Instagram
Facebook
X
YouTube
TikTok
Pricing:
Smash Balloon offers individual plugins starting at $49, or an All Access Bundle for $299, which includes all plugins and support for unlimited websites.
7. Juicer
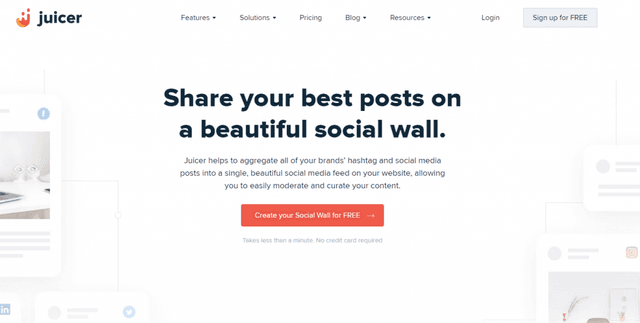
This social media aggregator that pulls all your brand’s social media posts and hashtags into one beautiful feed on your website. It supports platforms like Instagram, Facebook, TikTok, and more, allowing you to moderate and customize your feed to match your style. Juicer automatically updates your website with the latest posts, making it a hands-off way to engage your audience.
Special features:
Supports multiple social platforms and hashtags
Customizable themes with moderation options
Easy embedding with automatic updates
Social media networks you can embed with Juicer:
Facebook
Twitter
LinkedIn
Instagram
YouTube
Slack
Pinterest
RSS
Flickr
Giphy
Pricing:
Juicer offers a Free plan with 2 source accounts and Juicer branding. Paid plans start at $23/month (billed annually) for 5 source accounts, while the Pro plan at $89/month supports 30 accounts and no branding.
Embedding tips for popular website builders
Check out tips on where to paste the embed code.
How do I embed social media in a WordPress website?
To embed a social media feed in WordPress, you can either use the custom HTML widget by adding the feed’s HTML code to the widget area, like the sidebar or footer. Alternatively, you can install a plugin like Curator, which allows you to easily add a shortcode instead of HTML.
How do I embed social media in a Wix website?
In Wix, you can embed your social media feed by navigating to the Settings section, then Advanced, and selecting +Custom Code. Paste the HTML code in the designated area, choose which pages and section to display it (Head, Body – start, or Body – end), and hit Apply.
How do I embed social media in a SquareSpace website?
For SquareSpace, you’ll need to add a custom HTML block to the page where you want your social media feed. Simply paste the HTML code for your feed into the block, and it will display on your selected page.
How do I embed social media in a Shopify website?
To embed a social media feed in Shopify, go to Online Store > Themes > Edit Code, then navigate to the Footer.liquid file (or another section). Paste the feed’s HTML code into the desired location, such as the footer or product pages, to show user-generated content for specific items.
How do I embed social media in a HubSpot website?
In HubSpot, go to Marketing > Website > Website Pages, choose the page where you want to display the feed, and click Edit. Under Settings > Advanced options, paste the feed’s HTML code in the Additional code snippets area and click Publish to make it live.
As you can see, embedding your social media content on your site is simple and quick. And in no time you can start reaping the benefits and keeping your presence on social and your site consistent and impactful!
Previous post: