The Facebook Widget Easy Install Guide [+10 Free Tools]
Dayana Mayfield
on
Mar 27, 2026
Widget
If you're looking to add a Facebook widget to your website you are in the right place. This guide covers steps for three different types of Facebook widgets and the free tools you need to get the job done.
We also cover tips for WordPress, Squarespace, and Wix.
Despite the growing popularity of TikTok, Facebook is by far the number one social media platform in the world, boasting over 2.96 billion users globally. A Facebook widget can make your website more engaging by presenting your latest posts, whether that's links to free content, beautiful images, news items, or live video streams.
Many businesses and organizations use Facebook to distribute content and stay in touch with their audience. Why not automatically add this content to your website? Your website will always be fresh, up to date, and present something new to website users. A Facebook widget is the added benefit of getting more eyes on your content and driving more page followers.
But there are different types of Facebook widgets, and the steps depend on which type you want to embed on your site.
Keep reading, because whatever type of Facebook widget you're interested in, we've got you covered.
Curator.io is an easy-to-customize aggregator that lets you pull from over a dozen sources. If you'd like to give Curator.io's free forever plan a spin sign up today.
Types of Facebook widgets
A Facebook widget refers to a component of a website that pulls content from Facebook so you can share your posts and grow your audience.
There are three main types of Facebook widgets:
Facebook widget for embedding posts - This type of widget is great for embedding your page feed so all of your new posts will be automatically added to a section of your website.
Facebook widget for liking a page - You can use this type of widget to embed the name and header of your Facebook page along with a like button so that you can drive more Facebook followers from your website.
Facebook widget for page events - You can also embed your Facebook page along with a list of your upcoming events, whether in person or virtual.
The first type is the most common. If you want, you can combine Type #1 and #2 to add both feed posts and a like button.
Scroll for tutorials on each!
Facebook widget for embedding posts
Here's everything you need to know to add your facebook feed to your site.
How to add a Facebook feed widget to your website
Follow these simple steps:
Step 1. Use a social media widget tool
You need a social media aggregator (AKA social media widget) to automatically add your posts to your website.
This allows the posts to be sent to your site according to your moderation rules without you having to manually embed each and every post every time you want to add something new.
Curator offers free and paid plans that meet any business need.
Step 2. Choose Facebook as your source
The next step is to choose your source.
Of course, you'll be choosing Facebook but it's worth noting that you can aggregate content from a variety of social media networks and content platforms, including Instagram, Twitter, and YouTube.
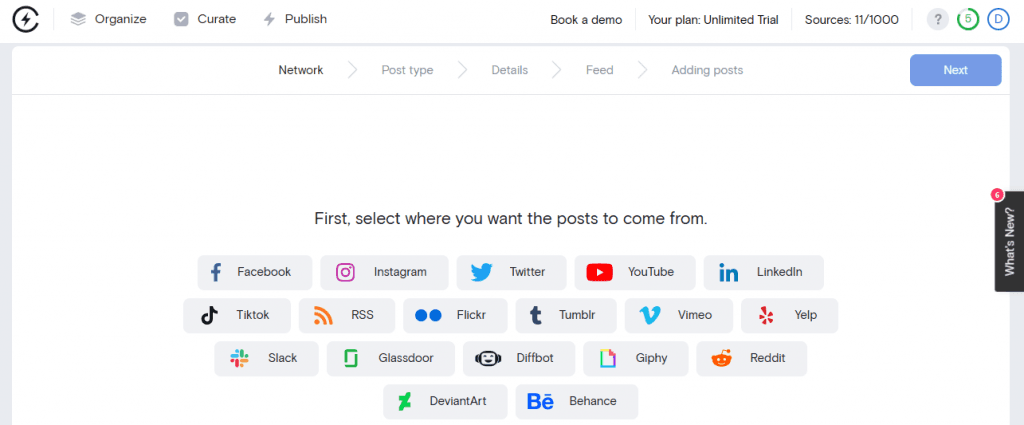
After you've chosen Facebook as your source, you will need to choose the type of content that you want to aggregate.
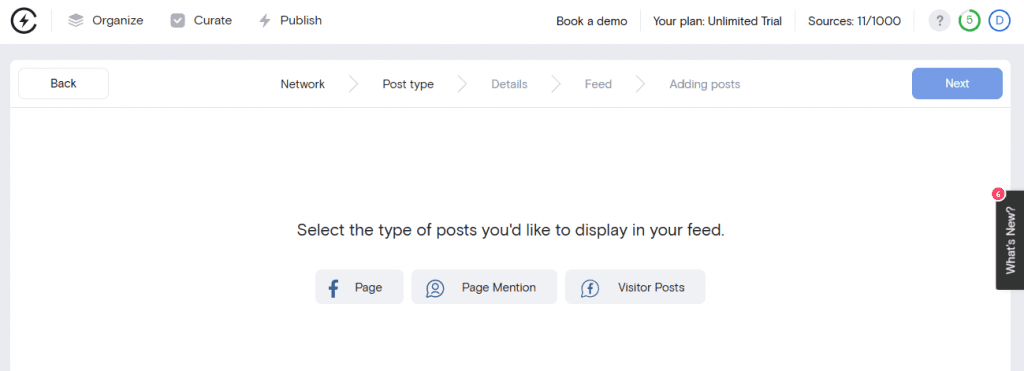
You have three options to choose from:
Page - A Facebook page is the most common choice. You'll be aggregating posts published to your business's or organization's page.
Page mention - You could also aggregate content from when users tag your page in their posts. This can work well for embedding influencer content, user-generated content, and customer testimonials.
Visitor posts - A visitor post refers to when a user rights something on your business page. You can aggregate these types of customer testimonials as well as well.
And you can combine these sources. You can always choose one source and then go back and add another source to the same feed. That way you can have your company's posts and news items from your Facebook page as well as social proof that will help website visitors trust your brand.
Step 3. Connect your Facebook account
Next, follow the prompts to connect your Facebook account. You must have administrator access to the Facebook business page that you want to pull content from.
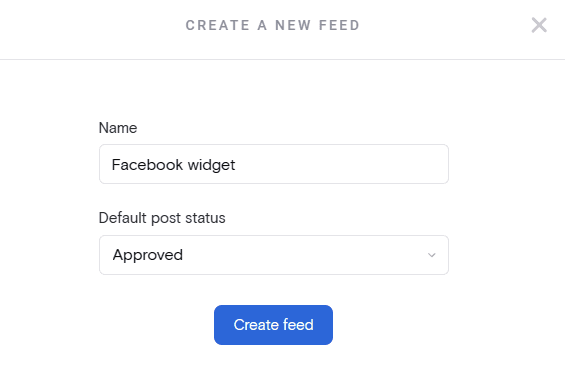
After you've connected your account and chosen the correct Facebook page, you need to create a new feed and give it a name. You also need to choose the approval status. If you want all of the content from your source to be automatically added to your website, choose "Approved." But if you want to manually approve each item before it is sent to your website, then choose "Needs approval."
For a smoother experience managing your Facebook connection, especially during logouts, consider implementing the recommended Facebook logout fixes. These fixes help ensure that your sessions are correctly terminated, preventing unauthorized access and maintaining the security of your account.
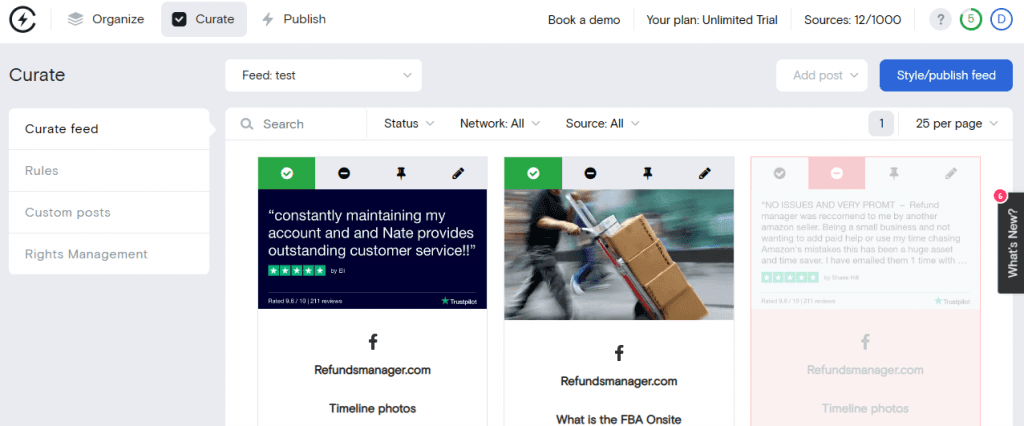
Step 4. Moderate the posts
Now, the aggregator software will pull all of your posts. Sort through the most recent 25 posts and approve or deny them. If you chose "Approved" as the status, then you just need to deny any that you don't want to show up. But if you chose "Needs approval," then you'll need to approve everything that you want to appear.
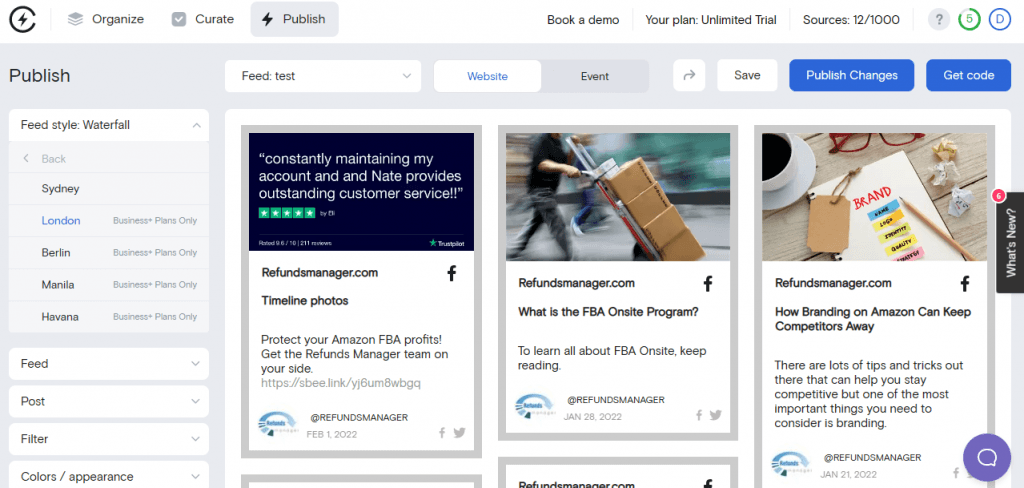
Step 5. Customize the style of the feed
The next step is to design your feed.
You don't need any website design skills to do this. You can choose from the different feed style templates and click the styling buttons to update the font colors, background colors, borders, and more. Or you can just keep things simple and black and white.
Step 6. Embed the widget on your website
Next, it's time to embed the widget on your website.
To do this, all you need to do is copy the HTML code and paste it in the back end of your website where you want it to appear.
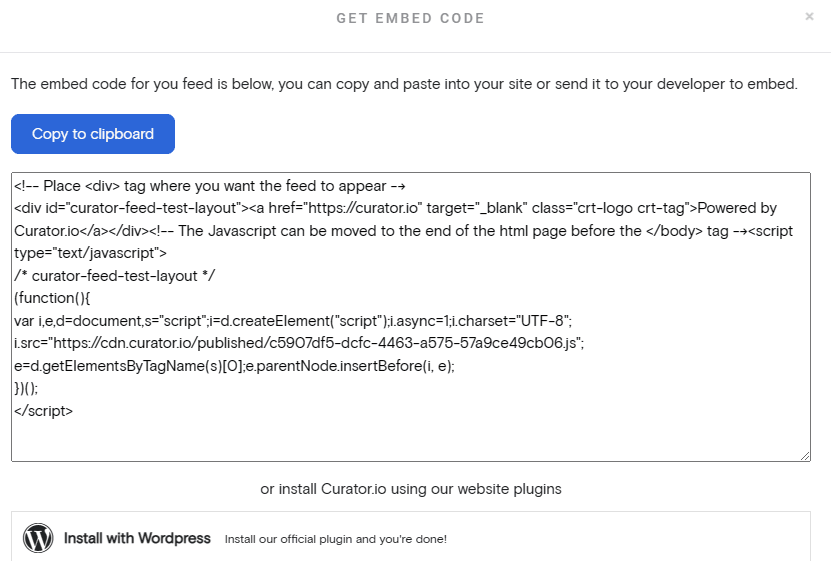
All website builders have the functionality to add a custom HTML box, and that's the feature that you're going to want to use. So let's say you want to add your Facebook posts to the sidebar of your blog. What you need to do is add a custom HTML box to your sidebar and then paste the HTML code in that box.
Scroll to the bottom of this article for tips on adding custom HTML based on your specific website platform.
Step 7. Log in to your widget software to moderate as needed
That's it! The widget has been added to your website. The only thing you need to do now is log in to your aggregator platform (such as Curator) to moderate additional content. You can approve or delete new posts as needed.
10 free Facebook feed widgets
These social media aggregators all integrate with Facebook so that you can add a widget to your website.
1. Curator
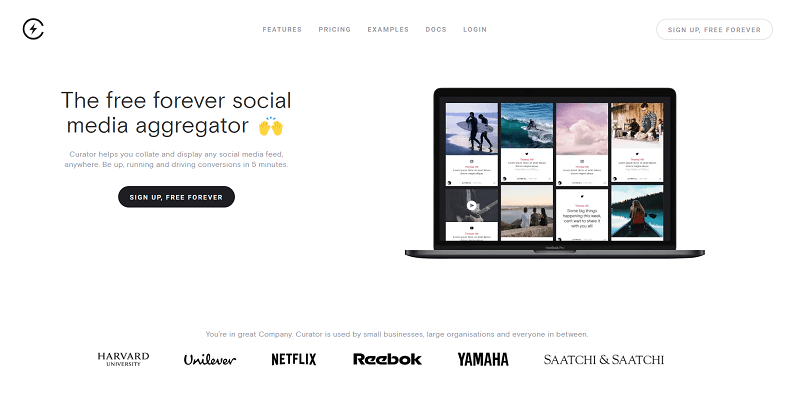
Curator is a popular Facebook widget software because it offers dozens of design templates that require no coding skills, a great free plan, and affordable pricing on paid plans. Unlike other social media aggregators, Curator does not add noticeable branding on the free plan but there's just a small "Powered by Curator" link at the bottom of your feed.
Curator.io is an easy-to-customize aggregator that lets you pull from over a dozen sources. If you'd like to give Curator.io's free forever plan a spin sign up today.
2. Juicer
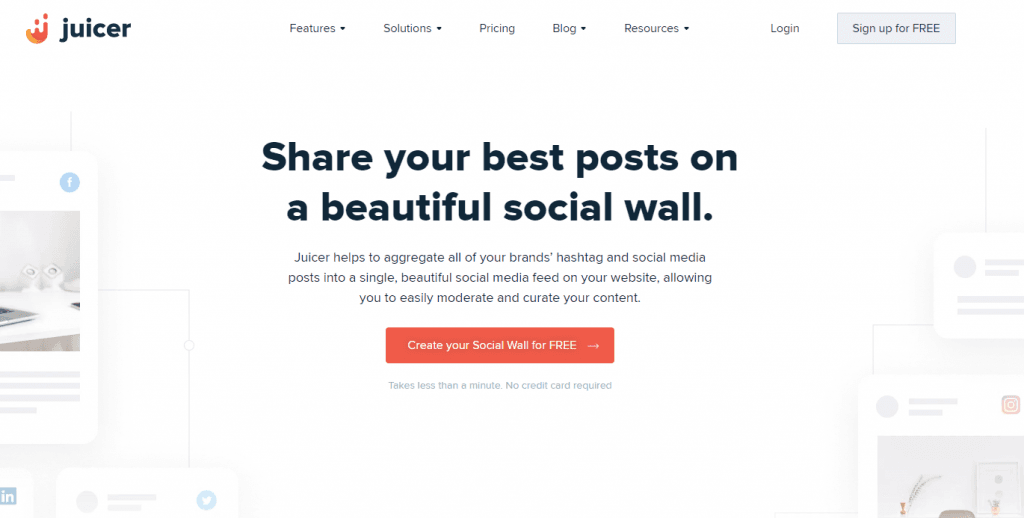
Juicer is another option for a Facebook widget platform. Note that on the free plan, they do inject large juicer ads into your feed so if you are hoping to use a free option or you want to test it out for free first know that you will have their branding on your website.
3. Taggbox

You can also use Taggbox to add your Facebook content to your website. Taggbox has a free plan as well as enterprise plans with more advanced features. The platform offers a robust UGC management suite where you can sift through UGC, get permission, and reuse it regularly in your facebook marketing campaigns.
4. Common Ninja
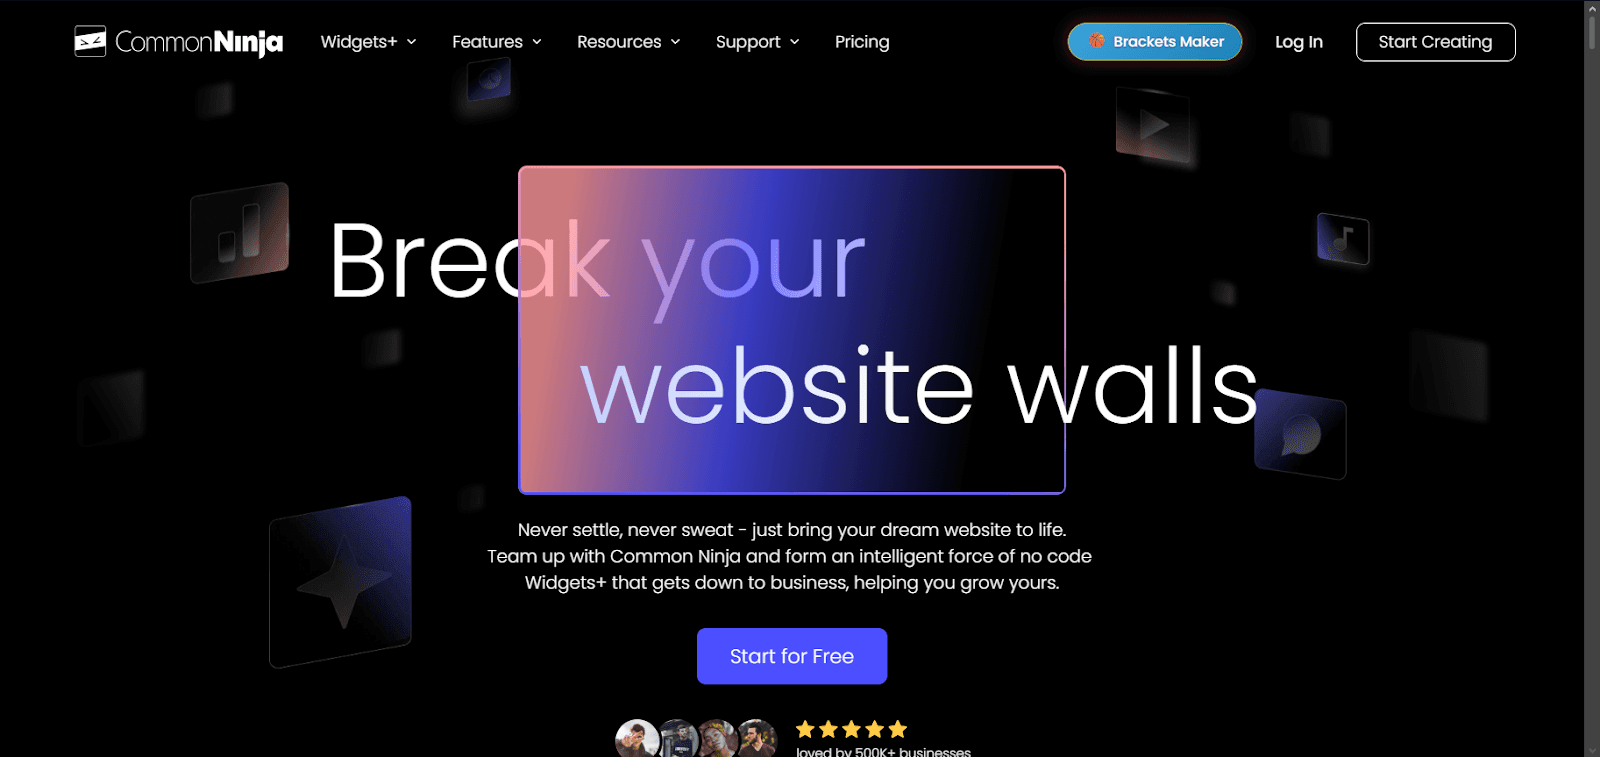
Common Ninja’s Facebook widget works by linking your Facebook page to your website, creating a live feed of posts. It supports RTL languages, so right-to-left scripts display correctly. You can add custom CSS for advanced styling, set character limits to make posts more compact, and include pagination so visitors can browse older posts easily.
The widget also lets you display likes and comments count, show or hide post timestamps, and integrate a gentle ticker animation for dynamic scrolling. Once you set it up, you just copy and paste one line of code onto your site, and the feed will keep updating automatically.
5. Elfsight
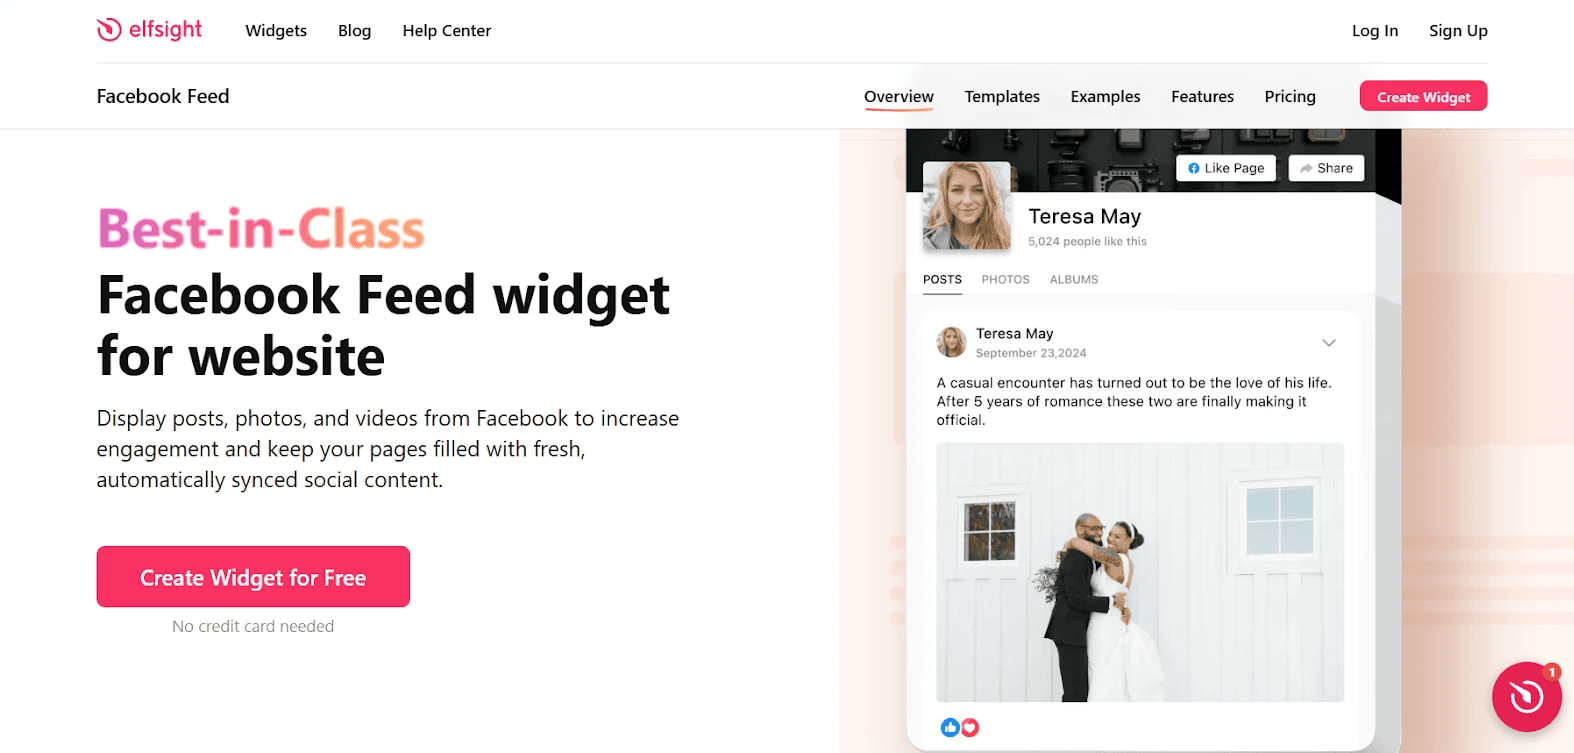
Elfsight stands out because it’s a coding-free, versatile solution for embedding Facebook content on any website. You can display posts, photos, and videos from your Facebook page in one dynamic feed. The widget automatically updates whenever you post on Facebook, keeping your site fresh and engaging.
You can mix posts, image galleries, and video content, all in one feed. It’s highly flexible, letting you adjust size, layout, and headers to fit any space or device. Popups let visitors view details without leaving your site, and customization options make it easy to highlight content or create galleries and newsfeeds. Plus, professional support and a live editor make setup fast and worry-free.
6. SociableKIT

SociableKIT is a social feed widget platform that simplifies embedding content from Facebook, Instagram, YouTube, and more on your website. Its biggest strengths are speed, mobile-friendliness, and customizability.
Widgets load quickly, keeping your pages responsive and visitors engaged. Every feed adapts perfectly to any device, ensuring a smooth experience on phones, tablets, or desktops. You can fully customize each widget to match your website’s colors, layouts, and more. From displaying social posts to reviews, videos, or galleries, SociableKIT helps you showcase content beautifully while saving time and enhancing user experience.
7. Powr
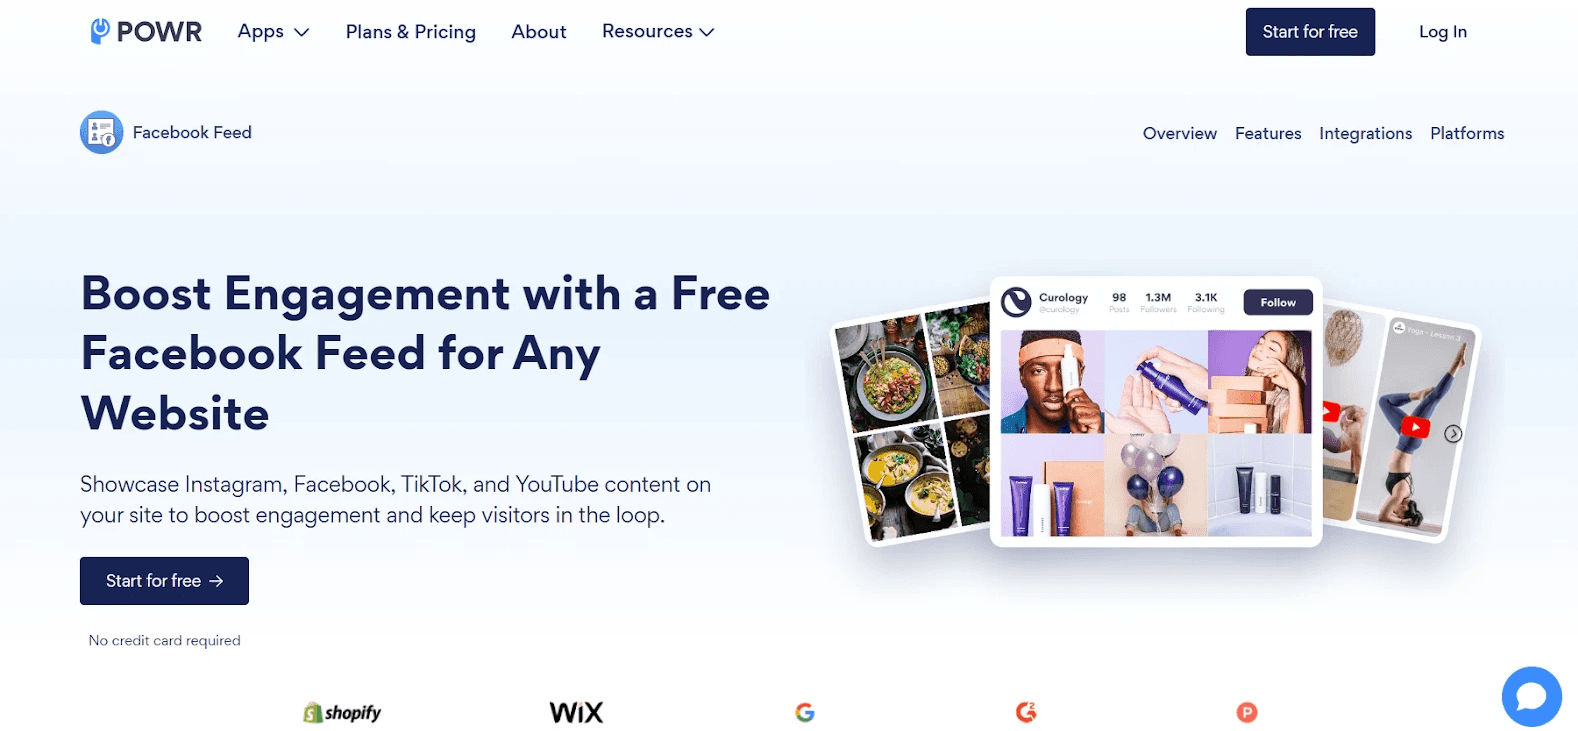
POWR is a popular Facebook page widget because it’s easy to set up and customize. You can quickly connect your Facebook page and display posts directly on your website to keep visitors updated with your latest content.
It includes flexible layouts, hover effects, and simple styling tools so it blends well with your website design. You can also combine feeds from other platforms like Instagram, TikTok, or YouTube in one place. It also supports shareable social posts and content moderation tools, allowing you to control what appears in your feed while encouraging visitors to interact with your content.
8. Widgets for Social Post Feed
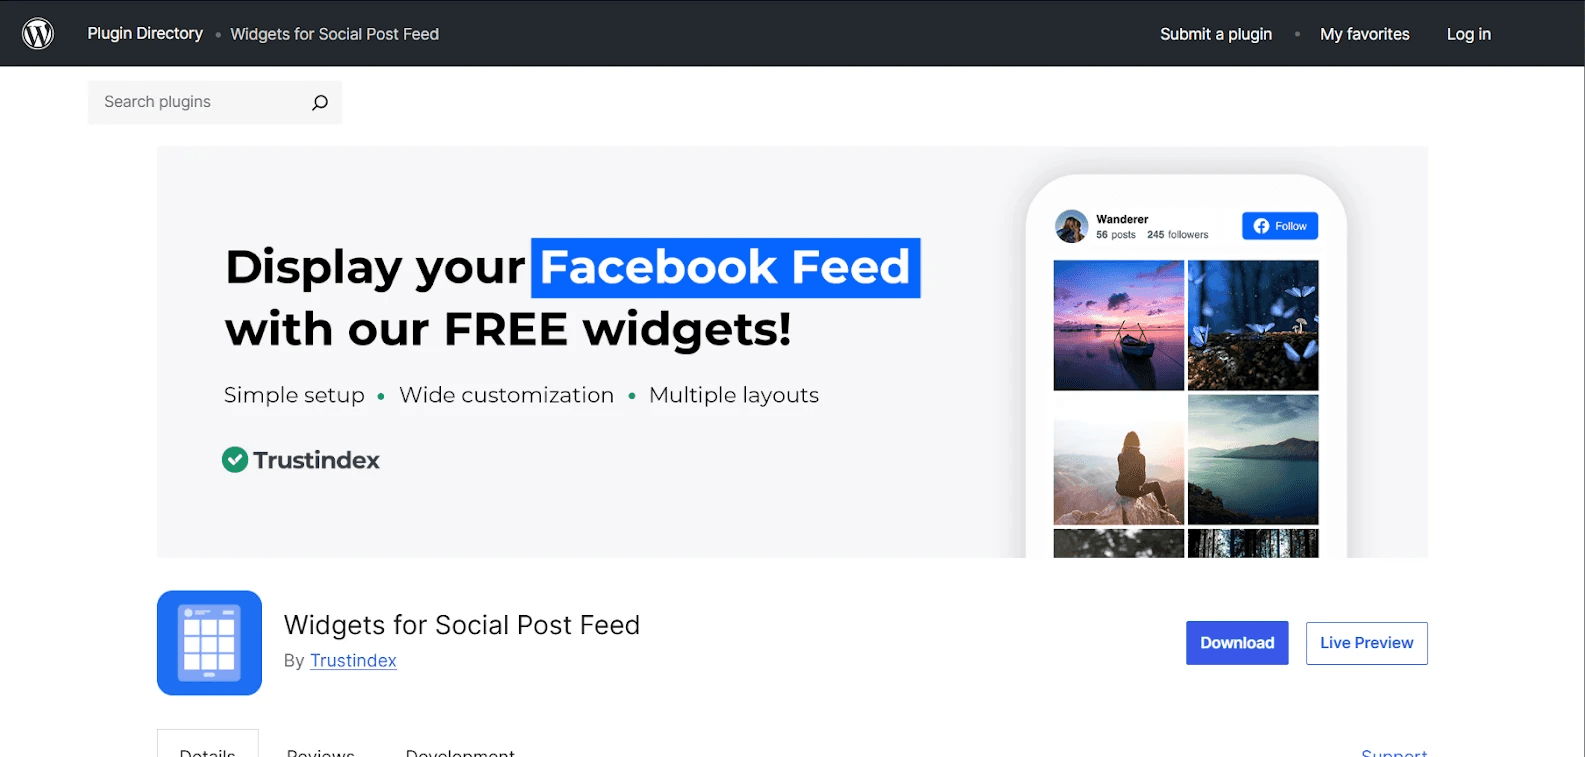
If you want a Facebook page widget on your WordPress site, Widgets for Social Post Feed makes the process quick and simple. You can connect your Facebook page and display posts directly on your website in just a few minutes.
The plugin offers layout options like grid, list, masonry, or slider, so your Facebook widget can match your site’s design. It also displays likes, comments, and images to make your content more engaging. Since the widget is fully responsive, it looks great on all desktop and mobile devices.
9. Smash Balloon
Smash Balloon makes it easy to add a widget for Facebook to your WordPress site. Setup is quick and beginner-friendly. Just connect your Facebook page, customize the feed, and embed it anywhere on your site.
Your Facebook posts automatically appear on your website. That means fresh content without extra work. Visitors can see updates, photos, videos, and comments in one place.
This helps build trust and social proof. People can see real activity from your community. The plugin is also responsive and optimized for performance, so your Facebook feed looks great and loads fast on any device.
10. WP Social Ninja
WP Social Ninja makes adding a Facebook widget to your WordPress site simple. You can display posts, photos, videos, events, and albums from your Facebook page in just a few clicks. No coding needed.
It helps keep your site fresh with real-time updates. Visitors can see likes, comments, and recent posts, which builds trust and social proof. The plugin also offers customizable layouts, lightbox popups, and responsive designs.
You can filter posts by keywords, highlight specific content, and match the feed to your website style. Lastly, it is speed and SEO optimized, so your site stays fast while showing engaging Facebook content.
Facebook widget for liking a page
Let's move on to a tutorial on how to embed the second type of Facebook widget. This type is basically a preview of your Facebook page and allows signed-in users to like your page from your website allowing you to collect new followers in just one click.
How to add a Facebook like widget to your website
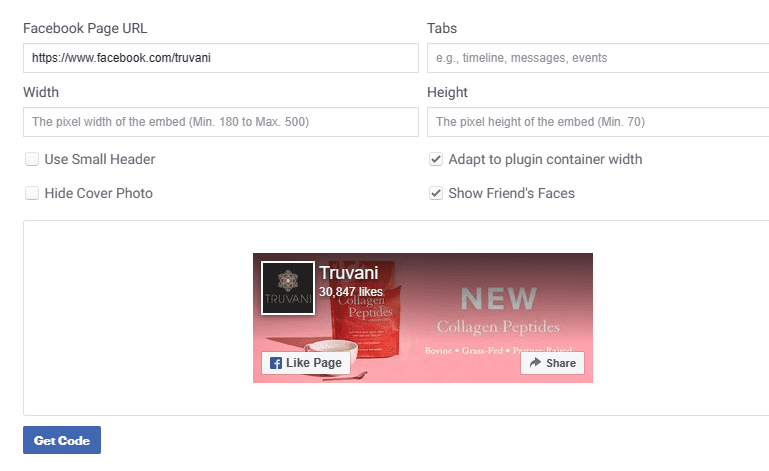
All you need to do is use the Page Plugin tool provided by Facebook's developers.
Copy and paste the URL of your Facebook page in the Facebook page URL box.
Then, click the "Get Code" button, copy the code, and paste it into a custom HTML box in your website.
Facebook widget for page events
Do you want to embed your upcoming events in your widget? You can do so with Facebook's Page Plugin tool for in-person, virtual, and hybrid events.
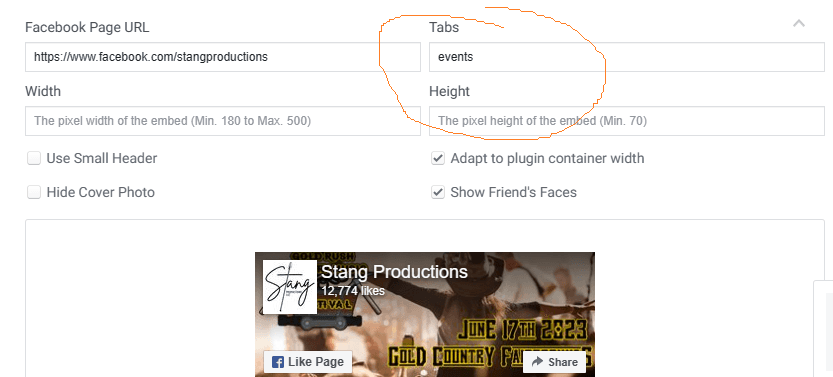
How to add a Facebook events widget to your website
You can embed a list of events from any page.
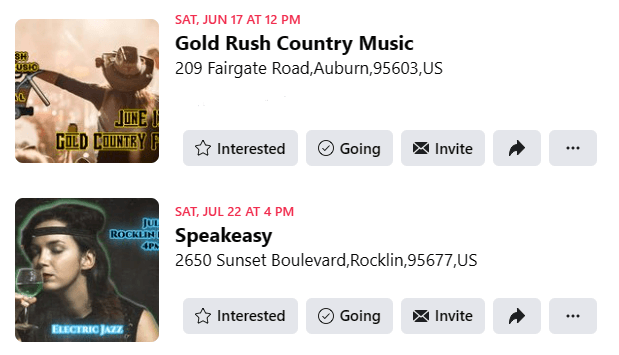
Head over to the Facebook page plugin tool. Paste your page's URL in the Facebook page URL box.
Next, write the word "events" in the tabs box.
Then click the get code button and copy the HTML code. Lastly, you will paste that code into the back end of your website. See below for tips on where to insert the code.
Embedding tips for different website platforms
Regardless of which type of widget you want to add to your website, you need to know where to paste the HTML code.
Adding a Facebook widget to WordPress
If your website is built with WordPress, here's how to add the Facebook WordPress plugin:
Go to your WordPress dashboard.
Click Appearance from the main side menu.
Click on Widgets.
Click the plus sign to add a new widget where you want it to go, such as your website's header, footer, or sidebar.
Add a custom HTML widget.
Paste the HTML code in the box.
Scroll down to the "Advanced" section and click on "Code Injection."
In the Header, Footer, or Sidebar section, add your custom HTML code.
Click "Save" to apply your changes.
Preview your site to ensure the HTML has been added successfully.
You can also install Curator's WordPress plugin which allows you to paste short code in the widget instead of long-form HTML.
Adding a Facebook widget to Squarespace
Use these steps to add the widget code to a Squarespace website:
Log in to your Squarespace account and navigate to the site you want to edit.
Click on Edit to enter the site editor.
Click on the Settings icon on the left-hand side of the screen.
Scroll down to the Advanced section and click on Code Injection.
In the Header, Footer, or Sidebar section, add your custom HTML code.
Click Save to apply your changes.
Preview your site to make sure the widget appears.
Adding a Facebook widget to Wix
And lastly, here are the steps for adding HTML code to a Wix website:
Go to the Settings area of your Wix website.
Go to the Advanced section.
Click +Custom Code in the top right.
Paste your Facebook feed code from into the box.
Give this custom code a name, for example, "My Facebook Widget."
Now select, Add Code to Pages. Click All Pages or choose specific pages.
Choose where you want the feed to appear: Head; Body - start; Body - end.
Click Apply.
Check your website to make sure the widget looks correct.
And that's it! Now you know how to add any type of widget to any type of website.
FAQs
How do I add a Facebook widget to my website?
To add a Facebook widget to your website, use a social media feed tool like Curator. It lets you connect your Facebook page, customize how posts appear, and generate a simple embed code. Paste the code into your site’s footer, sidebar, or page to display a live, automatically updating Facebook feed.
What’s the difference between a widget for Facebook and a standard embed?
A widget for Facebook offers more flexibility than a standard embed. Facebook’s default embed simply displays a single post or page preview. A widget, on the other hand, can show a full feed, offer layout and style customization, and update automatically as new posts appear on your Facebook page.
Can I customize a Facebook page widget to match my website design?
Yes. Most Facebook page widgets include customization options so you can match the feed to your website’s design. You can adjust layouts, colors, spacing, and display styles. Many tools also let you choose how posts appear, helping the widget blend naturally with your branding and overall site layout.
Do Facebook widgets for websites update automatically with new posts?
Yes. Most Facebook widgets for websites update automatically. Once connected to your Facebook page, the widget pulls in new posts as they’re published, keeping your site fresh without manual updates. Tools like Curator make this even easier by automatically syncing your Facebook feed and displaying new content in real time.
How do I display multiple Facebook pages using a single Facebook widget?
You can display multiple Facebook pages in one widget by connecting them to a social media aggregator. Tools like Curator let you add several Facebook sources and combine them into a single feed. The widget then shows posts from all connected pages in one organized stream on your website.
Are Facebook page widgets mobile-friendly and responsive on all devices?
Most Facebook page widgets are mobile-friendly and fully responsive. They automatically adjust to different screen sizes, so the feed looks good on phones, tablets, and desktops. Many tools, including Curator, optimize layouts and loading speed to ensure your Facebook content displays smoothly across all devices.
Curator.io is an easy-to-customize aggregator that lets you pull from over a dozen sources. If you'd like to give Curator.io's free forever plan a spin,sign up today.
Previous post: