How to Install an X Plugin on Your Website in 7 Simple Steps
Dayana Mayfield
on
December 21, 2024
Want to make your website more interactive?
Queue the X (formerly Twitter) plugin—a powerful tool for bringing your X content directly to your site.
The X plugin is a really great way to incorporate your X posts and boost your engagement.
Whether you want to showcase your latest posts, highlight glowing mentions, or track trending hashtags, an X plugin is the ultimate way to keep your website fresh, dynamic, and social.
In this guide, we’ll cover everything that you need to know about X plugins, starting with what they are and how to add one to your site. Plus, we’ll spotlight some free and affordable tool options to make it all happen.
What is an X Plugin?
An X plugin is a software add-on that allows you to seamlessly integrate content from X into your website. It’s kinda like an X feed widget as it pulls posts, mentions, and hashtags from your X account or community and displays them in a visually appealing way (that you get to design if you choose the right tool).
Plugins are commonly used by businesses, creators, and organizations to increase audience engagement, promote social proof, and showcase real-time updates—all while maintaining a cohesive site design.
Key benefits of using an X plugin:
Enhanced Engagement: Keep your audience engaged with live updates from your X account.
Social Proof: Display user-generated content or mentions to build credibility.
Seamless Integration: Easily embed the plugin into your website for a polished look.
Customizable Display: Match the plugin’s style to your website’s branding.
7 steps to install an X plugin on your website
We all now know that plugins for X posts is a must, so let's dive into a simple and effective method of installation.
Step 1: Select an easy-to-use social media aggregator
Choose a social media aggregator that supports X and offers the features you need. Look for tools that provide customizable templates, moderation controls, and support for your website platform (e.g., WordPress, Wix).
Pro Tip: Curator is a fantastic choice with a free forever plan, intuitive setup, and integration options for any website builder. They also have a WordPress that’s just itching to be installed.
Step 2: Create a new feed and choose the moderation style
After signing up for your free forever aggregator, it’s time to jump into the thick of it (just kidding, this is super simple).
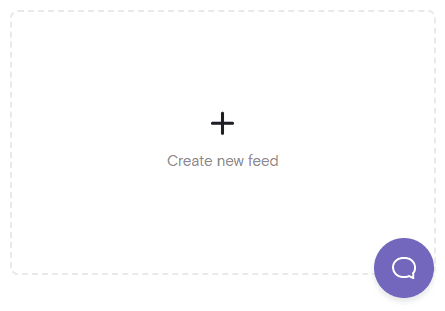
Click “Create New Feed.” Name your feed (e.g., "X Plugin" or "Latest Updates") and set your moderation preferences:
Approved: Automatically displays all posts from your selected source.
Needs Approval: Allows you to manually review and approve posts before they appear.
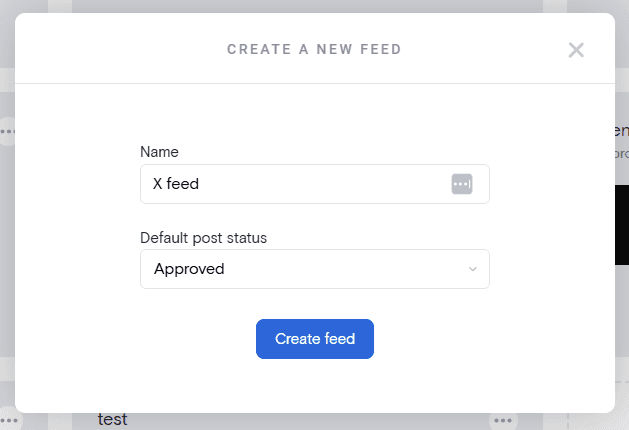
If your feed includes user-generated content or hashtags, we strongly recommend selecting "Needs Approval" to maintain control over what gets displayed.
Step 3: Select X as the content source and specify the types of posts to display
Now your feed is set up, but we need a source to, well, feed it.
Click “Add Source” and choose "X" as your content platform.
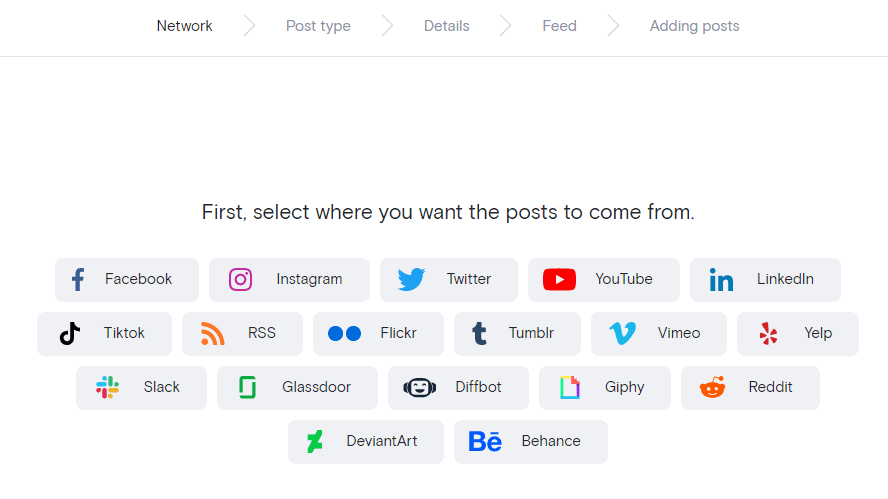
Current options include:
User Account: Display posts from your own X account.
Hashtags: Aggregate posts tagged with specific hashtags.

Link your X account or provide the hashtag/mention details to start pulling the content.
Step 4: Review the content and remove any posts that you don't want displayed
Now that your feed is live, it’s time to curate.
If you selected "Needs Approval," manually approve posts by clicking the green checkmark. For "Approved" feeds, scan for irrelevant posts and remove them by clicking the trash icon.
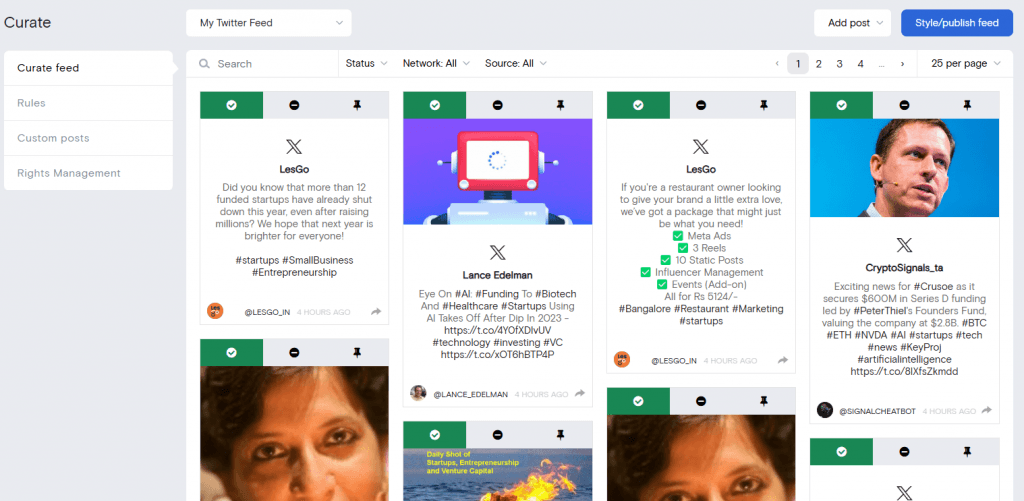
You can also use the aggregator’s filtering options to block unwanted content automatically, such as posts with profanity or unrelated hashtags.
Step 5: Select a plugin display template and customize the style
With your feed ready and reviewed, it’s time to make it visually stunning, and on brand!
Choose a display template from the options, such as Grid, Mosaic, or Carousel. With Curator there are 13 template styles so I’m sure you can find one that feels right for you.

Once you’ve chosen the right template it’s time to customize it to match your brand. You can easily:
Update colors and fonts to fit your website.
Adjust row and column settings for optimal layout.
Preview changes in real-time before finalizing.
The preset customization options are all on the menu bar on the left. And you can also use your own custom CSS feeds if that is the way you like to go about it.
Step 6: Incorporate the plugin into your website
Now that everything is curated and looks awesome, it’s time to incorporate.
Click “Get Code” to generate the HTML embed code for your plugin. Copy it to your clipboard and paste it into your website’s editor. Some options include:
WordPress: Use the Curator’s WordPress plugin or paste the code into a Custom HTML block.
Wix: Navigate to Settings > Advanced > Custom Code and paste the embed code.
Squarespace: Add a custom HTML block and paste the code.
Shopify: Insert the code into your footer.liquid file or specific product pages.
Step 7: Moderate posts on a regular basis
Congrats! Your X feed plugin is live.
To keep your content fresh and relevant, log in to your aggregator regularly to review new posts. If you selected "Needs Approval," approve posts weekly—or more frequently during special events.
Remember to stay on top of the moderating so things don’t become dated. 15 minutes a week is usually enough, so it’s more about remembering that finding the time. It’s a pretty cool thing they got those automated reminders and stuff to help us out with that.
5 X Plugin Tools Worth Considering
These tools make it easy to embed X plugin on your website:
1. Curator
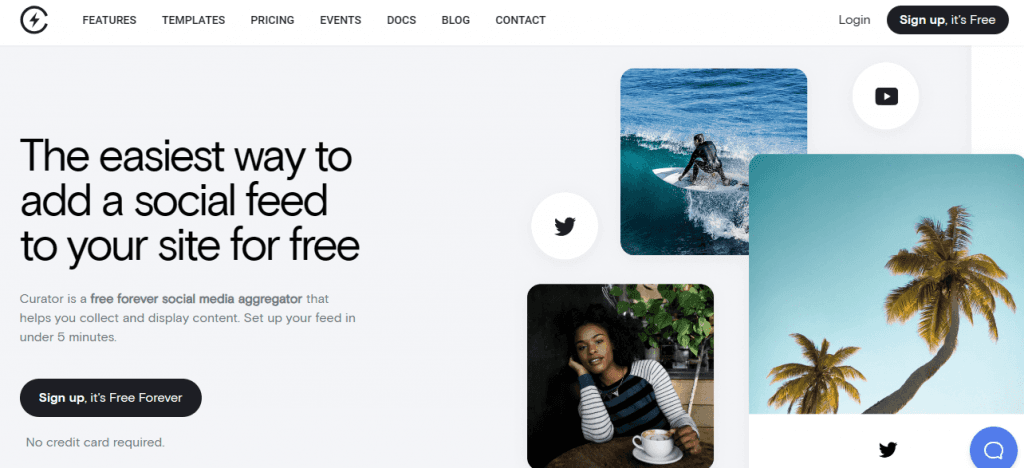
Curator is a robust social media aggregator that lets you integrate X feeds with other platforms like Instagram, Facebook, and TikTok. It’s ideal for businesses and creators looking to create visually appealing, customizable feeds with minimal effort. Curator stands out with its advanced moderation options, user-friendly dashboard, and pre-designed templates, allowing you to seamlessly incorporate your X plugin into any website.
Key Features:
Multi-platform support for dynamic content
Customizable templates and styling options
Advanced moderation controls for content approval
Real-time analytics to monitor engagement
Seamless integration with WordPress, Wix, Shopify, and more
Pricing: The free plan includes up to 3 sources with moderation controls. Paid Plans start at $25/month for advanced customization, real-time updates, and additional sources.
2. X Plugin by X
The official X plugin is a free tool that enables direct integration of X content into your website. It’s perfect for embedding your account timeline, trending hashtags, or mentions without needing a third-party platform. While it’s a quick and easy way to add X content, it lacks customization and moderation features, which can be limiting for professional branding.
Key Features:
Direct integration with X for simple embedding
Multiple feed types, including timelines, likes, and mentions
Light and dark theme options for basic customization
Automatic real-time updates from your X account
Pricing: Fully free, but with limited design and moderation options.
3. Onstipe

Onstipe is a user-friendly platform that aggregates social media content from platforms like X, Instagram, and Facebook. It’s especially well-suited for live events or social media displays. While it’s affordable compared to some competitors, its customization and moderation options are less robust, and X feeds are only available with paid plans.
Key Features:
Real-time content updates for engaging, live displays
Social media wall templates tailored for events
Basic moderation tools for content approval
Multi-platform aggregation for dynamic feeds
Pricing: The free plan supports two sources with Onstipe branding, but excludes X feeds. You’ll have to sign up for at least the $25/month plan for X feed integration and additional features.
4. Walls.io

Walls.io specializes in creating social media walls, making it ideal for live events or businesses that thrive on real-time audience interaction. With features like live polls and event-specific customization, Walls.io is a strong choice for larger organizations and events. However, its higher price point may be prohibitive for small businesses or casual users.
Key Features:
Multi-platform content aggregation, including X
Event-focused features like live social walls and interactive polls
Pre-designed templates for professional styling
Basic content moderation to ensure relevance
Pricing: There is no free plan, but you can get a 14-day trial to explore features. Paid plans start at $250/month, offering event-specific features and enhanced customization.
5. Juicer

Juicer aggregates content from X and other social platforms into a cohesive feed for your website. It’s great for those who need a simple, straightforward solution for embedding social content. However, its free plan includes noticeable branding, and its customization and moderation capabilities are limited compared to other tools.
Key Features:
Multi-platform support for aggregating content across platforms
Pre-designed templates for quick feed setup
Basic moderation tools for controlling displayed content
Simple integration process for adding feeds to your site
Pricing: The free plan includes up to two sources but prominently displays Juicer branding. Paid plans start at $25/month, offering more sources and removing branding.
Ready to transform your website with an X plugin? Try our free forever plugin.
Previous post: