Incorporating a social media feed into a website is one of the best ways to keep content fresh, engage visitors, and showcase user-generated content (UGC).
Whether you want to display posts from your brand’s Instagram, tweets from happy customers on a wall of love, or a mix of content from multiple platforms, embedding a social media feed using HTML makes the process simple and seamless.
This guide will walk through how to embed social media content into a website using HTML, helping you create a dynamic and interactive experience for your audience.
What is an embedded social media feed?
An embedded social media feed is a live display of social media posts that appears directly on a website. Instead of manually updating content, the feed automatically pulls in the latest posts from selected platforms like Instagram, Facebook, Twitter, and TikTok.
Businesses, bloggers, and marketers use embedded feeds to showcase brand mentions, highlight UGC, or keep website content engaging without constant updates. With the right social media feed widget, posts can be filtered by hashtags, account mentions, or specific keywords, making it easy to control what appears on the page.
How to embed a social media feed on your website using HTML
If you want to embed a social media feed on your website, using HTML code is one of the easiest and most reliable methods. You don't need to build the code yourself. Curator generates the embed code automatically, so you simply copy and paste it into your website. We've helped more than 100,000 businesses display social feeds this way because it's quick to set up and easy to maintain.
1. Create your social media feed
Sign up for Curator and connect the social media accounts, hashtags, or keywords you want to display. You can pull content from a single platform or combine multiple social networks into one feed, depending on your website's goals.

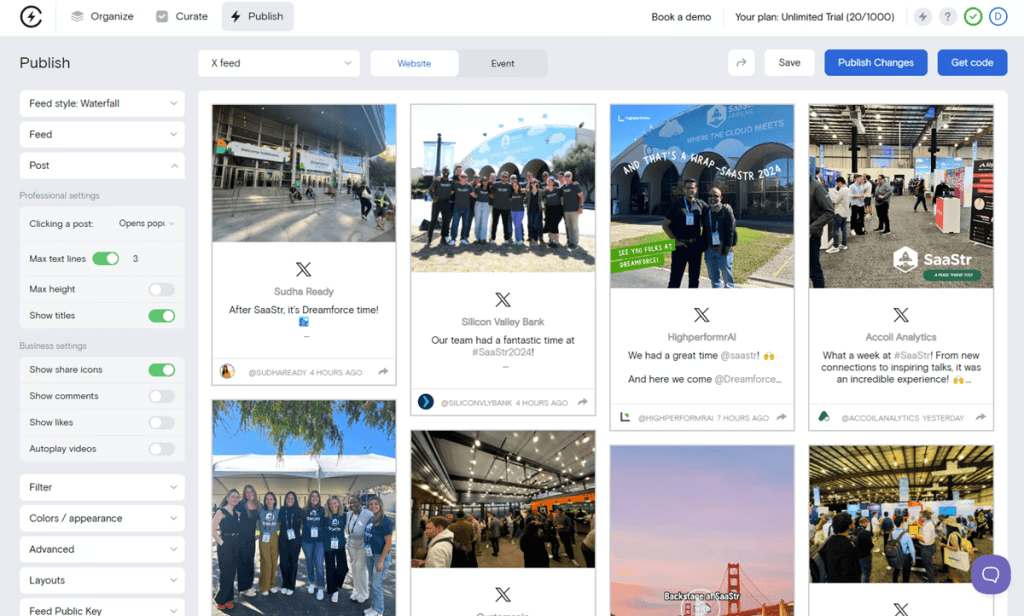
2. Customize your feed
Choose a template that matches your website and adjust the colors, spacing, fonts, and moderation settings. I also recommend reviewing your feed before publishing so visitors only see content that supports your brand.
3. Copy your embed code
After creating your feed, click Get Embed Code from your Curator dashboard. Curator generates a unique HTML snippet for your feed. Copy the embed code, then open the page where you want your social media feed to appear.
4. Paste the HTML code into your website
Add the HTML code to your website using a Custom HTML block or your site's HTML editor. Most platforms, including WordPress, Shopify, Squarespace, Wix, and Webflow, support HTML embeds, making it simple to embed a social media feed on your website without advanced coding knowledge.

5. Publish and manage your feed
Save or publish your webpage to make the feed live. After that, you can manage everything from Curator. New posts, moderation changes, and layout updates automatically appear on your website without replacing the embed code, making it an easy long-term solution.
FAQs
How do I embed a social media feed on my website using HTML?
To embed a social media feed on your website using HTML, create your feed with a platform like Curator, then click Get Embed Code and copy the generated HTML snippet. Paste the embed code into your website's HTML editor or Custom HTML block. Once published, your feed will automatically display new approved social media posts.
Do I need coding experience to embed a social media feed with HTML?
No. Most social media feed tools generate the HTML code for you. All you need to do is copy the embed code and paste it into your website. Website builders like WordPress, Shopify, Wix, Squarespace, and Webflow all support HTML embeds, making the process beginner-friendly.
Where should I place the HTML embed code on my website?
Paste the HTML embed code wherever you want the feed to appear, such as your homepage, product pages, blog posts, or footer. Most websites include a Custom HTML block or HTML editor that accepts embed code. The feed will automatically display in that location once the page is published.
Can I customize my social media feed before embedding it?
Yes. Platforms like Curator let you customize layouts, colors, fonts, spacing, and card styles before generating the embed code. You can also moderate posts, combine multiple social networks, and create different feeds for different pages without changing the HTML code already installed on your website.
Will my embedded social media feed update automatically?
Yes. Once you've added the HTML embed code to your website, your feed updates automatically whenever new approved content is available. You don't need to generate new code every time you publish a social media post. Simply manage your content through your feed dashboard.
Can I embed multiple social media platforms with one HTML embed code?
Yes. Many social media aggregation platforms allow you to combine content from Instagram, Facebook, TikTok, LinkedIn, X, YouTube, and other networks into a single feed. Instead of embedding separate widgets, one HTML embed code can display all of your curated social content together.
Does embedding a social media feed slow down my website?
A well-built social media widget should have minimal impact on website performance. Reputable platforms optimize their embed code for fast loading and responsive design. Choosing a lightweight embedding solution and displaying only the content you need can further improve page speed and user experience.
Can I moderate posts before they appear on my website?
Yes. Most third-party social media feed tools include moderation features that let you manually approve posts or create automatic filtering rules. This helps ensure your embedded feed reflects your brand and prevents outdated, irrelevant, or inappropriate content from appearing on your website.
What websites support HTML embed code?
Almost every modern website platform supports HTML embed code. You can embed a social media feed on WordPress, Shopify, Wix, Squarespace, Webflow, Joomla, Drupal, and custom HTML websites. If your platform includes an HTML editor or Custom HTML block, it can usually display embedded feeds.
Why use a social media feed tool instead of native embeds?
Native social media embeds work well for displaying individual posts, but they're limited when showcasing multiple updates. A platform like Curator gives you more flexibility through customizable layouts, moderation, branding, analytics, and multi-platform support. It also lets you manage everything from one dashboard while using a single HTML embed code.
Can I use the same HTML embed code on multiple pages?
Yes. You can use the same HTML embed code on multiple pages if you want to display the same social media feed throughout your website. However, I often recommend creating separate feeds for key pages. For example, your homepage might feature company updates, while product pages display customer content related to specific products or services.
Is it better to use HTML embed code than a plugin?
It depends on your website and goals. HTML embed code works across almost every website platform and doesn't require installing or maintaining an additional plugin. In my experience, it's the simplest long-term solution because you only paste the code once, while all future content, moderation, and design changes happen inside Curator.
What types of social media content should I display on my website?
Focus on content that helps visitors trust your business. Customer reviews, testimonials, product demonstrations, user-generated content, company updates, and educational posts usually perform best. Avoid displaying every social media post automatically. A carefully moderated feed is more relevant, supports your website's goals, and creates a stronger first impression for potential customers.
Add a beautiful social media feed to your website the easy way with Curator. Just connect your favorite platform, choose your template, copy the HTML code, and paste it where you want it to appear in your site. Learn more about Curator and sign up.
Previous post: